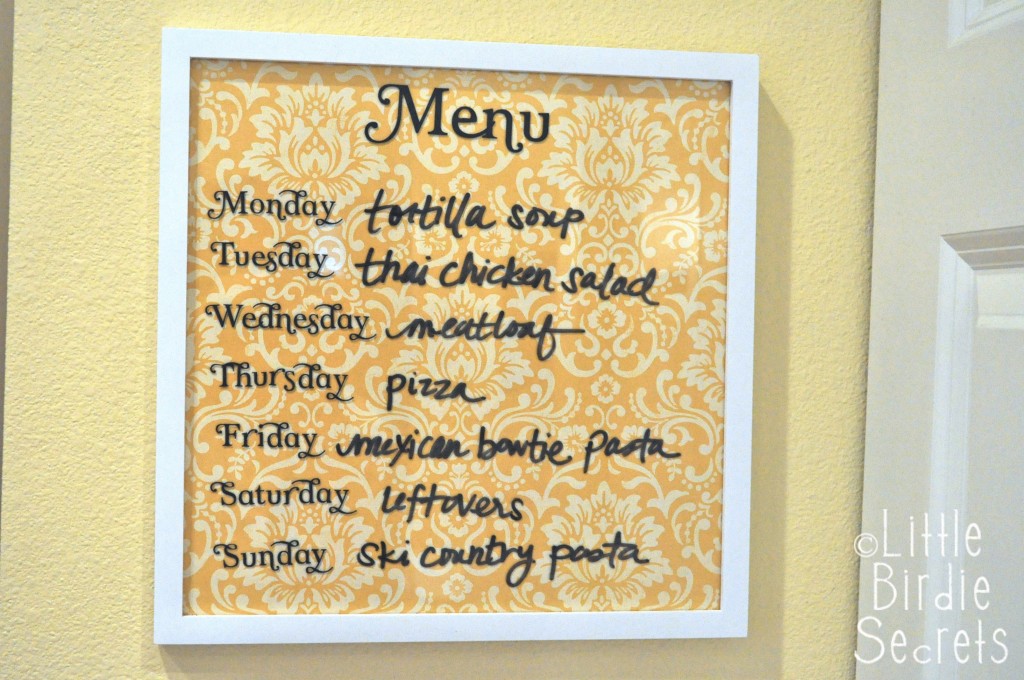
Make and Takes.com, a website devoted to “craft. food. fun.” recently posted this classy little dry erase board project. Maybe it was the DIY, adorable and affordable aspects of it that appealed to me…or maybe it was just the reminder of my step-mom’s amazing tortilla soup (pictured on the final product) that made this little project catch my eye! Either way, I love finding innovative ways to use the things sitting around my house. As a college student, that really means a lot. So, follow the steps below or visit the site!

Supplies:
- Picture frame with glass front (This one is a 12×12 frame)
- Piece of patterned scrapbook paper to fit in your frame
- Optional: Vinyl cut letters for each day of the week (you could always just hand write them)
- Dry-erase marker

1. Put your patterned paper inside the frame. Replace the back. That’s pretty much it.

2. If you wanted to stop here, you could hand-write your days of the week on the glass, or use it as a message board/to-do list. I love that these frames can stand or hang on the wall so you can do whatever works best in your space!

3. Use a paper towel or cloth to easily erase dry-erase marker off the glass.

4. If you want to get fancy and go a step further, you can add vinyl lettering for the days of the week. I cut these letters with my Silhouette machine, using Creating Keepsakes “Woodbine Swashes” font. (Try not to notice how crooked “Sunday” is. I didn’t notice until after the picture was taken. Luckily, it’s easy to fix!)

Now everyone in the family knows what’s for dinner each week!
If you’re not a fan of white frames, here it is spray painted black, as well. The best part about this project is that it is SO easy to change the paper if you decide to change your decor, or if you just get tired of it. So you’ll really use it for years to come!

No comments:
Post a Comment